
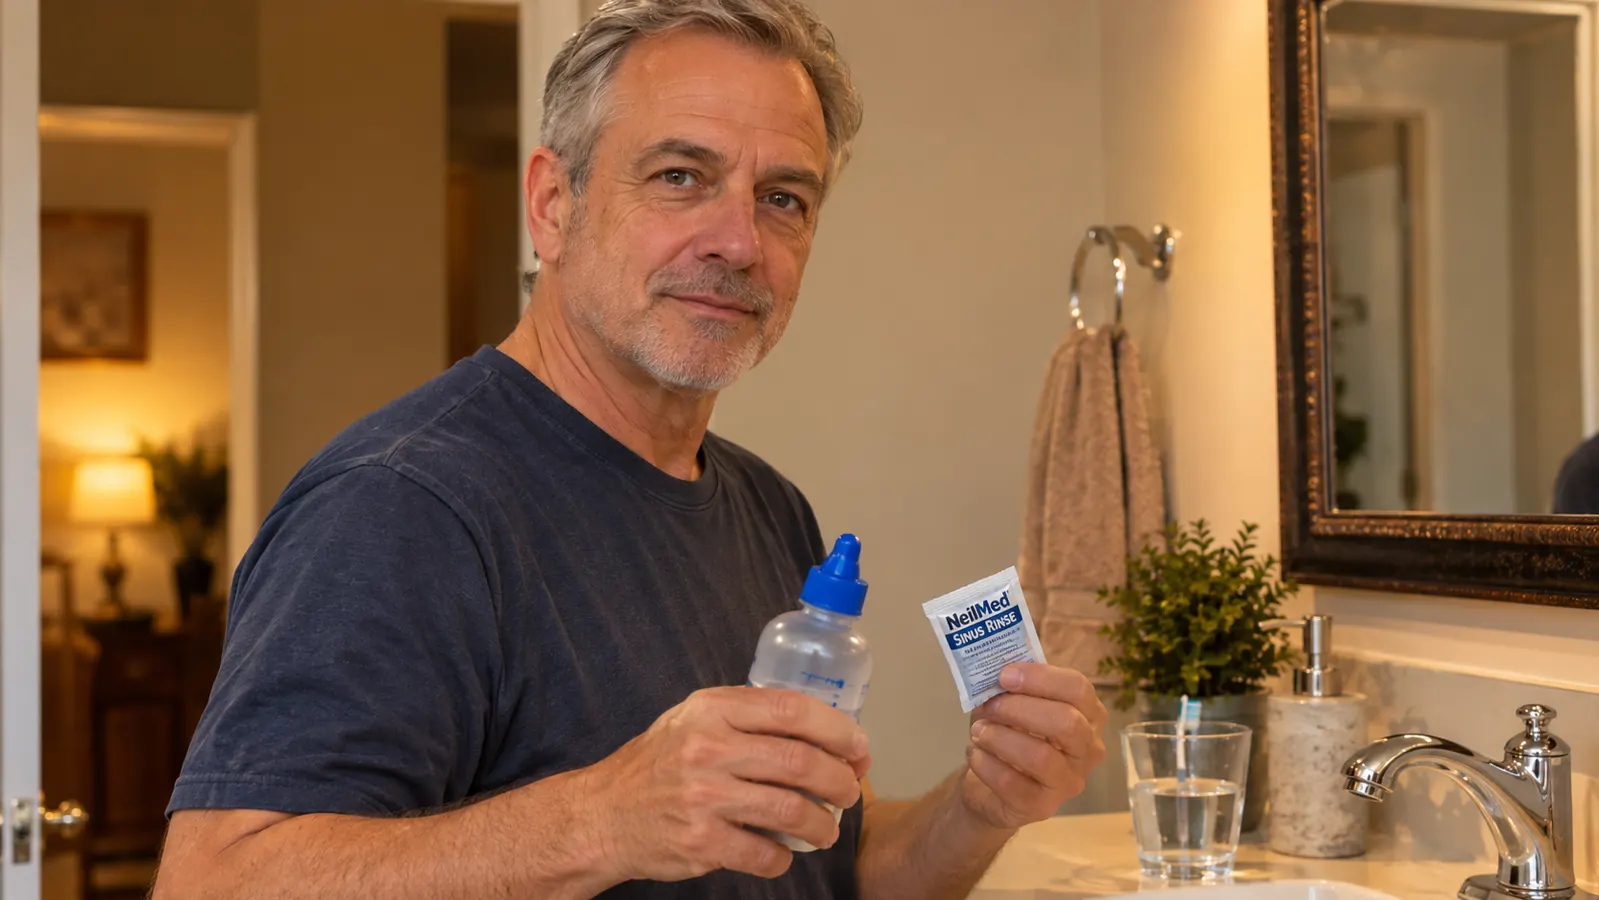
For twenty years I snored loud enough to send Darlene to the couch most nights. It took her noticing I stopped breathing in my sleep to get me to a doctor, and the sleep study came back as moderate obstructive sleep apnea. I have used a CPAP every night since. The machine helped, but I still woke up with a dry mouth and a stuffed nose on too many mornings. My doctor was the one who suggested a saline sinus rinse before bed, and the NeilMed Sinus Rinse kit has been part of my evening routine since the first week of March.
This is not medical advice. Snoring can be a sign of sleep apnea, and sleep apnea is a medical condition only a doctor can diagnose and treat. No rinse, pillow, or strap replaces a sleep study or a prescribed CPAP. What I can give you is the plain-spoken version of how I use a NeilMed Sinus Rinse kit at bedtime, what I had to learn the hard way, and what I wish somebody had told me on day one.
A clean nose before the mask goes on
The NeilMed Sinus Rinse kit is the one I keep on the bathroom counter. It is a volume therapeutic saline nasal irrigation and moisturizing system that helps with congestion, post nasal drip, and nasal dryness, and it is preservative, iodine, and latex free.
Amazon Check Today's Price on Amazon →Step 1: Set up your supplies before you start
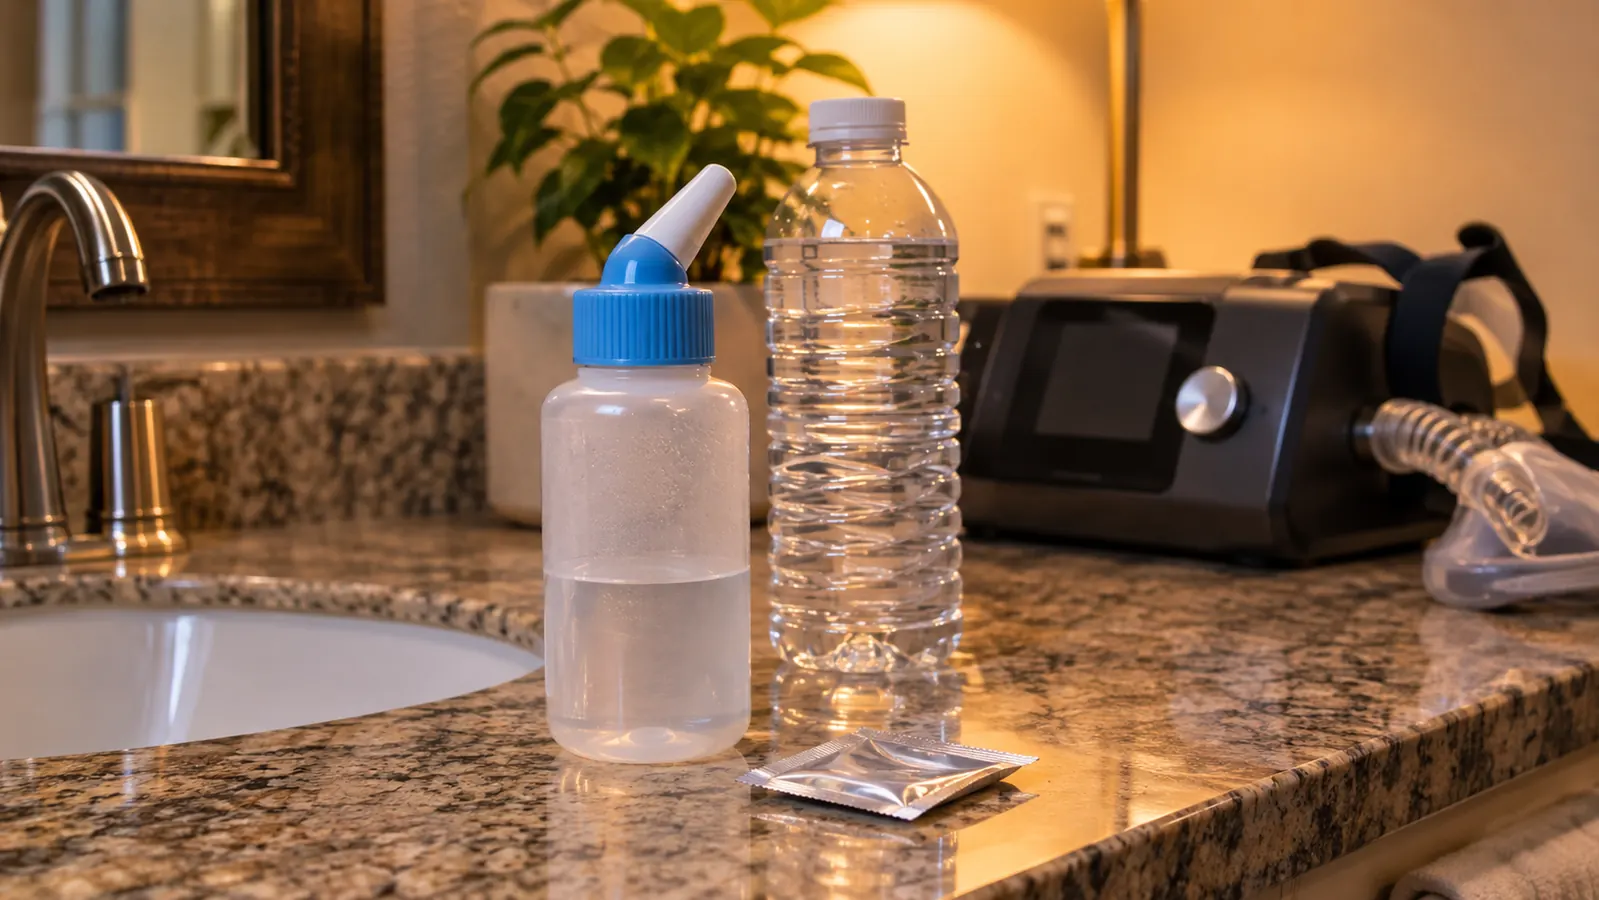
The kit comes with the squeeze bottle and 50 packets of the pre-measured salt mixture. I keep the bottle on the bathroom counter and the box of packets in the cabinet above the sink. The one thing I had to learn the hard way is that the water matters more than anything else in this routine.
I use distilled water from a jug I keep in the bathroom. The instructions that come with the kit say to use distilled, sterile, or previously boiled water, and I do not skip that part. Tap water straight from the faucet is not something I am willing to put in my nose, and you should not skip it either. I also set out a clean towel and a small glass of the distilled water before I start, so I am not dripping rinse water across the bedroom trying to find things.
One more tip from experience: do this at the sink, not in the shower. I tried the shower exactly once. The water temperature felt fine, but I could not see the bottle or the packet clearly, and I spent the whole rinse guessing whether I had mixed it right. The sink with a mirror and good light is the place.
I will tell you what the first night looked like, because nobody warned me. I came home from work, opened the box, and read the instructions twice before I trusted myself. I filled the bottle with tap water the first time, because I did not think the water type mattered that much. It did. The tap water here is hard, and my nose let me know it for the rest of the evening. I threw that bottle out, went to the grocery store the next day, and bought a gallon of distilled water. Now I keep that jug on the floor of the bathroom cabinet, and I refill it every ten days or so. The whole setup takes up less space than a shoebox.
Step 2: Fill the bottle to the line and add one packet
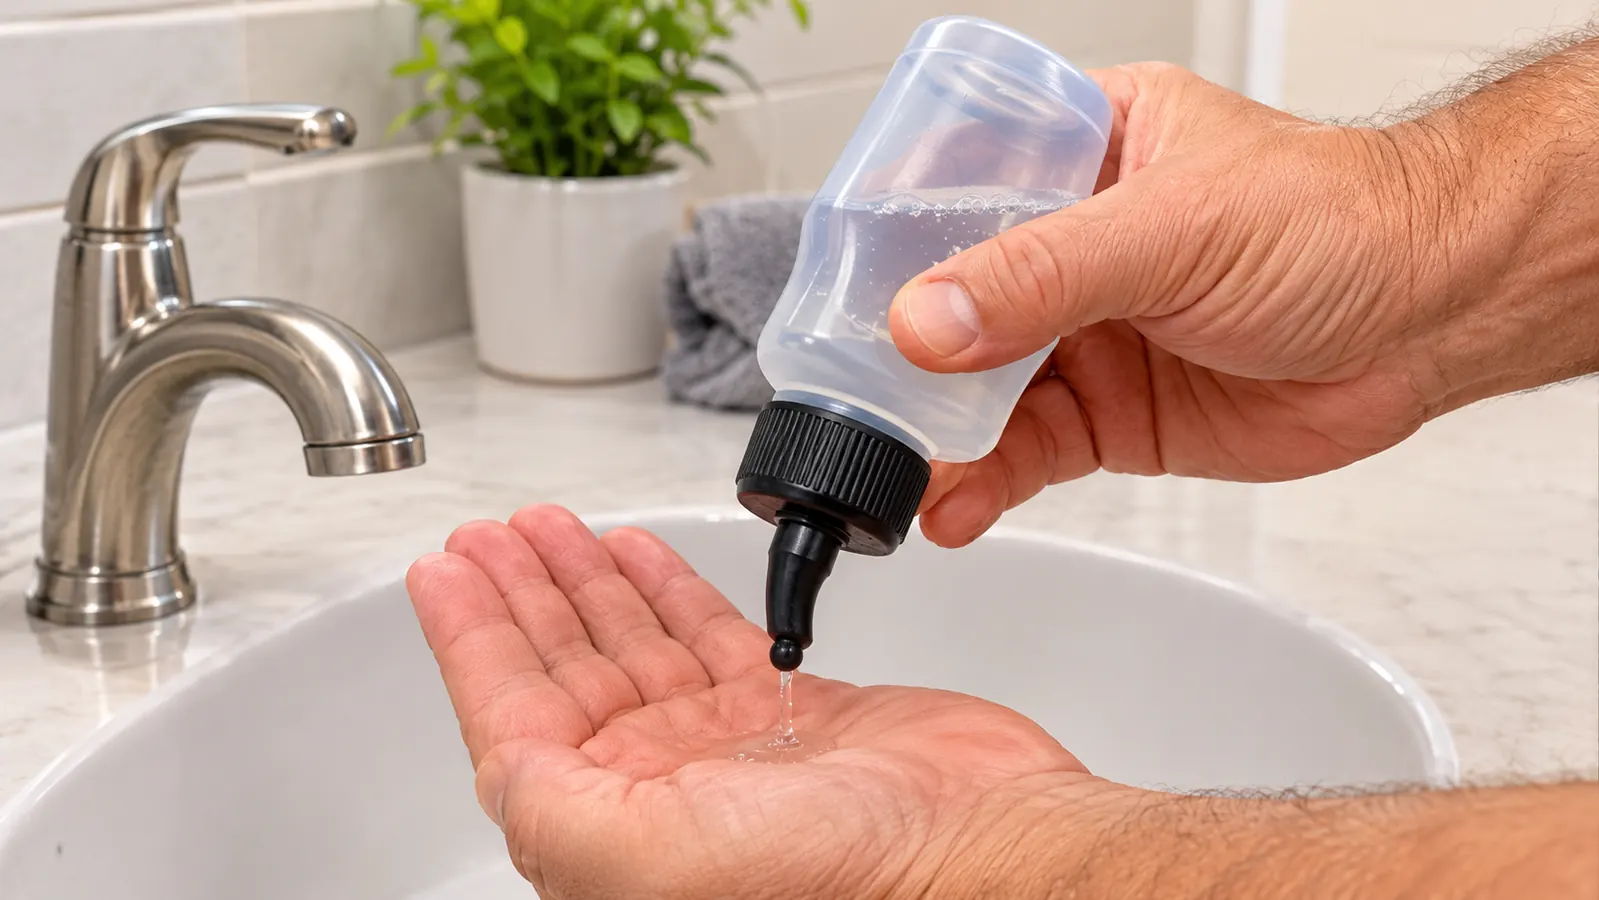
The NeilMed bottle has a fill line molded into the side. I fill it to that line with the distilled water, then pour in one packet of the mixture. The packet is pre-measured, which is the whole reason I chose this kit over a neti pot. There is no guessing at the salt amount and no measuring spoon to lose in the drawer.
I put the cap on and give the bottle a good shake. The mixture dissolves quickly. If you have ever used a neti pot, the feeling is similar, but the squeeze bottle gives you a little more control over the pressure, and I find it easier to use one-handed at the sink.
The kit is made to help with nasal allergies, dryness, irritation from dust, fumes, pollen, smoke, and animal dander, plus post nasal drip and congestion. I bought it for the congestion and the dry mouth, but the allergy relief turned out to be a bonus I did not expect. Tennessee in the spring is not kind to my nose.
The first time I mixed it, I held the bottle up to the light to check that the powder was fully dissolved. Now I know it only takes a few seconds of shaking. I also learned to point the bottle away from my face when I take the cap off after shaking, because a drop of the mixture always seems to be waiting on the threads. Small thing, but it keeps the counter from getting sticky. On nights when I have been out in the yard all day, I can feel the rinse doing its job before I even get to the CPAP. That is the part that keeps me doing it.
Step 3: Lean over the sink and rinse one side at a time
This is the part people ask me about, because it looks strange the first time you do it. I lean over the sink at about a forty-five degree angle, tilt my head slightly to one side, and place the tip of the bottle gently against my nostril. Then I squeeze slowly and let the water run in one nostril and out the other.
The first time I did it, I squeezed too hard and got a nose full of water. The trick is to go slow and breathe through your mouth the whole time. When the bottle is about half empty, I switch sides and repeat. The whole rinse takes me about two minutes, and I have never had water go down the back of my throat since I slowed down.
If you are a mouth breather when your nose is stuffy, like I am, you already know the feeling of waking up with a throat like sandpaper. The rinse clears the nasal passages before I put the CPAP mask on, which means I am breathing through my nose more often at night instead of defaulting to my mouth.
The first week, I set my phone on the counter with a timer so I would not rush. It took me four minutes the first night, then three, then two and a half. Now I do it without thinking, and the timer stays in the drawer. One thing I figured out: if I stand up straight while the water is still in my nose, it runs down the back of my throat. So I stay leaned over until the bottle is empty and the water has drained out. I also relax my shoulders and keep my mouth open, because the first few nights I was tensed up like I was bracing for a shot, and that made it worse.
Step 4: Rinse the bottle and let it air dry
When the rinse is done, I empty the bottle, rinse it out with distilled water, and leave it on the towel to air dry. The kit instructions say to wash the bottle regularly and let it dry completely between uses. I keep a clean towel on the back of the sink just for this.
This is also the step where I remind you that the bottle is reusable but the packets are not. I use one packet per rinse, and I never try to stretch a packet into two rinses. The pre-measured mix is part of what makes this routine simple, and the 50 count box lasts me a good while.
A note on the bottle itself: at about 10 ounces and 6.25 by 5.75 by 2.5 inches, it is small enough to live on the bathroom counter without taking over the whole sink. It is easy to grip with one hand, even at the end of a long day.
One habit I picked up after the first month: I wash the bottle with warm water and a drop of dish soap every Sunday, and I let it dry on the towel for the whole day before I use it that night. The instructions say to wash it regularly, and I have found that a weekly wash keeps the bottle from developing any kind of film. I also check the tip every so often to make sure nothing is clogging it. The kit is simple, but simple things still need a little care.
Step 5: Follow the rinse with your normal CPAP routine
The rinse is not a replacement for anything my doctor prescribed. It is the first part of my bedtime routine, and the CPAP comes after. I do the rinse, dry off, brush my teeth, and then put the mask on. The order matters for me because the rinse clears the nose, and a clear nose means the mask seals better and I am less likely to wake up with a dry mouth.
I have used this kit almost every night since the first week of March, which puts me at about eight months of nightly use. It has not cured my sleep apnea, and nothing I bought on my own ever will. What it did do is make the CPAP routine easier to stick with, and sticking with the CPAP is what actually keeps me breathing at night.
If you are new to CPAP and your nose is part of the problem, talk to your doctor or sleep tech about whether a saline rinse fits your routine. I am not a medical professional. I am just a retired lineman who tried a lot of gadgets and kept the ones that worked.
In April I skipped the rinse for about a week. I was tired, I had a cold, and I told myself the CPAP alone was enough. By the third night I was waking up with the same dry mouth and stuffy nose I had before I started, and Darlene mentioned that my snoring was louder again. I went back to the rinse and the difference came back within a couple of nights. That week is the reason I do not skip it now, even on the nights when I am tempted to fall into bed without the whole routine.
What Else Helps
The NeilMed Sinus Rinse is the piece I kept, but it is not the only thing that helped me sleep better. I use a small humidifier in the bedroom during the winter, and I stopped eating late at night, which made a bigger difference than I expected. I also replace my CPAP mask cushion on the schedule my equipment supplier gives me, because a worn cushion leaks and wakes me up.
I tried the wedge pillow and the anti-snore mouthpiece before my sleep study, and neither did a thing for me. The honest truth is that the sleep study and the CPAP are what changed my nights. The rinse is a helper, not a cure, and I think that is the right way to think about it.
I will also say this about timing. I do the rinse about thirty minutes before I get into bed, not right at the moment I am pulling the covers up. That gives my nose a chance to settle and lets any extra water drain out before the mask goes on. When I tried doing it right at lights-out, I felt like I was still dripping when I lay down. Thirty minutes is the sweet spot for me, and it fits naturally between brushing my teeth and turning off the bathroom light.
The rinse did not cure my sleep apnea. It made the CPAP routine easier to stick with, and sticking with the CPAP is what actually keeps me breathing at night.
Start with the kit that made my bedtime routine easier
The NeilMed Sinus Rinse kit is preservative, iodine, and latex free, and it comes with the squeeze bottle and 50 pre-measured packets. It is the one I reach for every night before the mask goes on.
Amazon Check Today's Price on Amazon →